Showing posts with label inspiration post. Show all posts

Thursday, February 5, 2015

Inspiration Post | Valentines Day Shaker Card (Video)

Hi everyone!  It's Louise here today and I have been making and sharing a lot of shaker cards recently and have received some questions regarding how I go about constructing them.  I hope today's video explains my method clearly and that you'll be inspired to give it a try- they are super-fun!

With Valentine's Day coming up, I made this.....


....and here is the video- enjoy!


Saturday, November 29, 2014

Christmas card Inspiration

Good morning, today I will share with you an Origami folded Christmas tree.  

I really loved how this turned out and have been making a few over the last few days.  This tree would also be super cute on a Christmas page layout.  Hope you have fun making these little trees.


Photo instructions
Fold each square as follows

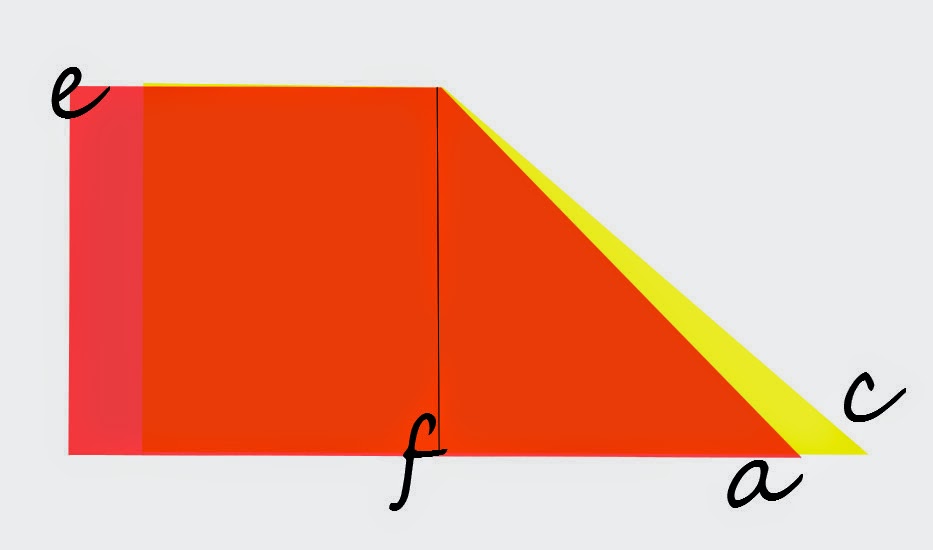
Fold your square across fold line E (you have a rectangle)
From E fold in towards F
point A C will meet

Now do the same on the other side

From E fold towards F 
point BD will meet and fold onto point D


 The square now forms a double layer triangle that looks like this.

 Fold one point of the triangle to the centre line 

 Take the next point and also fold it towards the centre.

 Turn your pieces over and apply glue liberally on the back of each tree segment.

Now start with the largest segment and glue down onto your card working from the bottom to the top of the tree.

Have fun and thanks for stopping by


Wednesday, November 26, 2014

Inspiration Post | Colouring Vellum with Copics

Hey there Sketchies!

It’s Leanne here with you today to share a quick and easy technique to add to some colour to plain vellum die cuts. 
I have a huge stash of goodies that never seems to get any smaller and today I decided to play with some older items from my stash. 
I gathered some plain vellum, old Cuttlebug dies and my Copic markers with an idea to make a Thank You card for a dear friend.
I started by cutting some different shaped leaves from the vellum.


I then chose a couple of colours of Copic Markers to work with and went about colouring the reverse side of the leaves. You don’t need to colour perfectly – I think it looks better if your colours are a bit streaky!


Now it’s time to give the leaves some texture! I like to fold the along the centre of the leaf and then simply scrunch them up and unfold slightly to ensure there is lots of dimension. 


I then used Brilliance ink in Galaxy Gold to add some sparkle to the edges and creases of the leaves.


Now you have lovely handmade embellishments to use on your future projects!

And this is my completed card where I have added a Prima flower to coordinate with the yellow vellum leaves. 


I hope this has inspired you to get out your dies, vellum and markers and make your own embellishments.

Saturday, November 22, 2014

Inspiration Post | Washi Tape Christmas Card (Video)

Hi everyone, it's Louise with you today and I will be sharing a how-to video for this card......


I, like many others, have a huge stash of washi tape and I am often looking for ways to make a dent in all that tape!  This is a quick card to mass-produce for Christmas and you can use whatever colour scheme you wish depending on the tapes you have.


I hope you enjoy my video and please leave a comment if you have any questions :-)

Friday, September 26, 2014

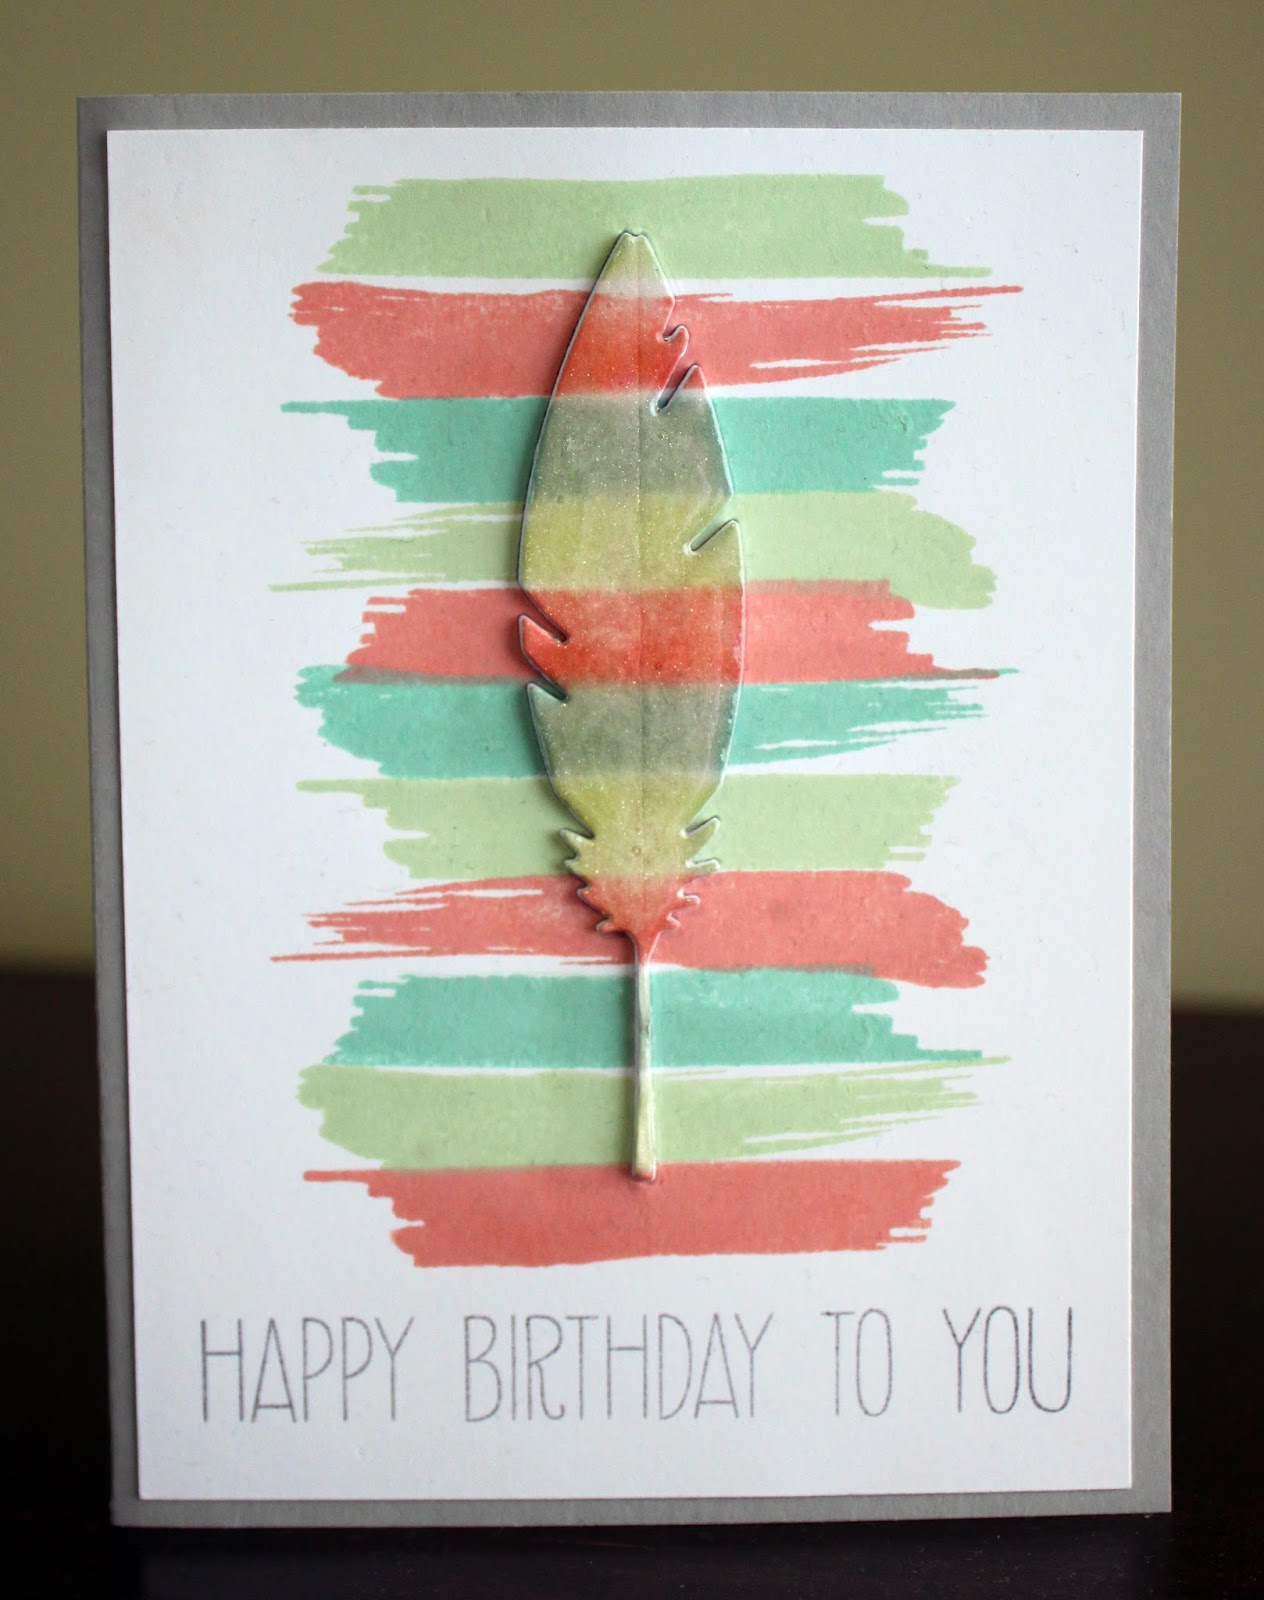
Inspiration Post | Stamping with Neocolors

Hey there Sketchies, it’s Leanne here with you to share a cool way to achieve an arty watercolour look using stamps and one of my favourite mediums Neocolor II.


I start by collecting my Neocolors, watercolour paper, water brush, stamps and block. This technique works best with a stamp that has a solid image.


Now I simply scribble a few colours onto a piece of watercolour paper.


Then using your water brush paint the colour onto your stamp.


Stamp the image pressing down firmly to distribute the colour.


If I find that the impression is to light or not complete then I like to add more colour to the brush and hand paint it on. If the colour is too dark then it can be lightened by adding a few drops of water.


I have continued on stamping in different colours to create a pattern that can be used on a card.
I like the slightly messy look of these circles!


Once my images were dry I added a word stamp to some circles in a coordinating colour before assembling my card.


I hope you have enjoyed my first inspiration post and that you try this fun technique.


Sunday, September 21, 2014

Inspiration Post | Inlaid Die-Cut Technique

Hi everyone! It's Louise here and today I'm sharing a process video for this card.....


You can watch it over at YouTube or right here below.....


I hope you are inspired and feel free to ask me any questions :-)

Sunday, September 7, 2014

Moments in Time

Today I am sharing a little inspiration post.  How to make grunge flowers.
You don't need much to create the flowers but if you wanted to go the extra mile you can add all sorts of goodies to decorate the flowers further.
(Brads, rhinestones, stickles,dimensional glue or even paint or ink onto your flowers.)


How to????
First you will need some flower die cuts.  Any size or shape.  For this page I used two different flowers from My paper Garden. 
Brads.
Water in a small spray bottle.
Anything you like to decorate the flower.

Stack your die cuts and fasten them in the centre with a brad.

 Spritz some water on the card stock and scrunch up the flower to your desired shape and size.

Let the cardstock dry.  Decorate as desired.


Files I used
My paper garden Vol 2 Flower 1 and 4

Saturday, August 30, 2014

Inspiration - Quick & easy backgrounds by Debi

Hi to you all - Feeling Sketchy followers.

Here I have an easy way for adding texture & colour to your background card stock or paper..without really trying...and you can have a stash of backgrounds ready for use at a later date! 

BUT this is for messy backgrounds which I just love!!

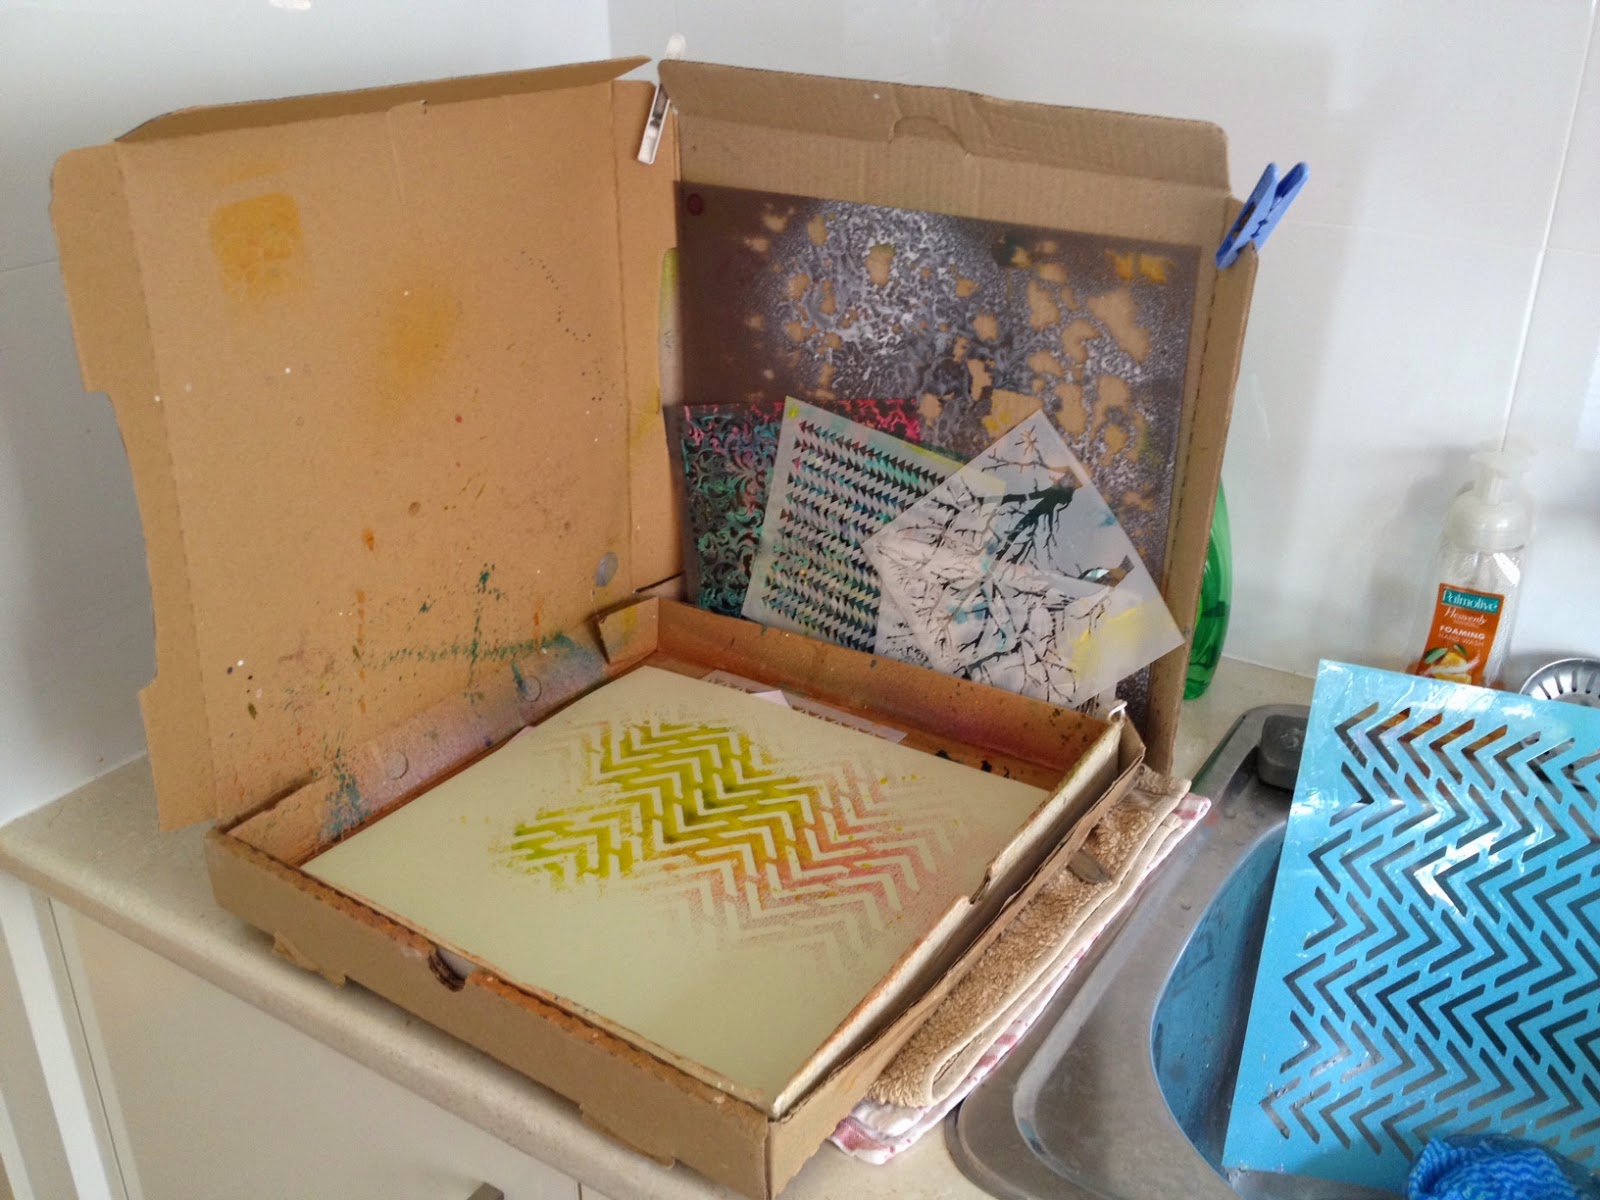
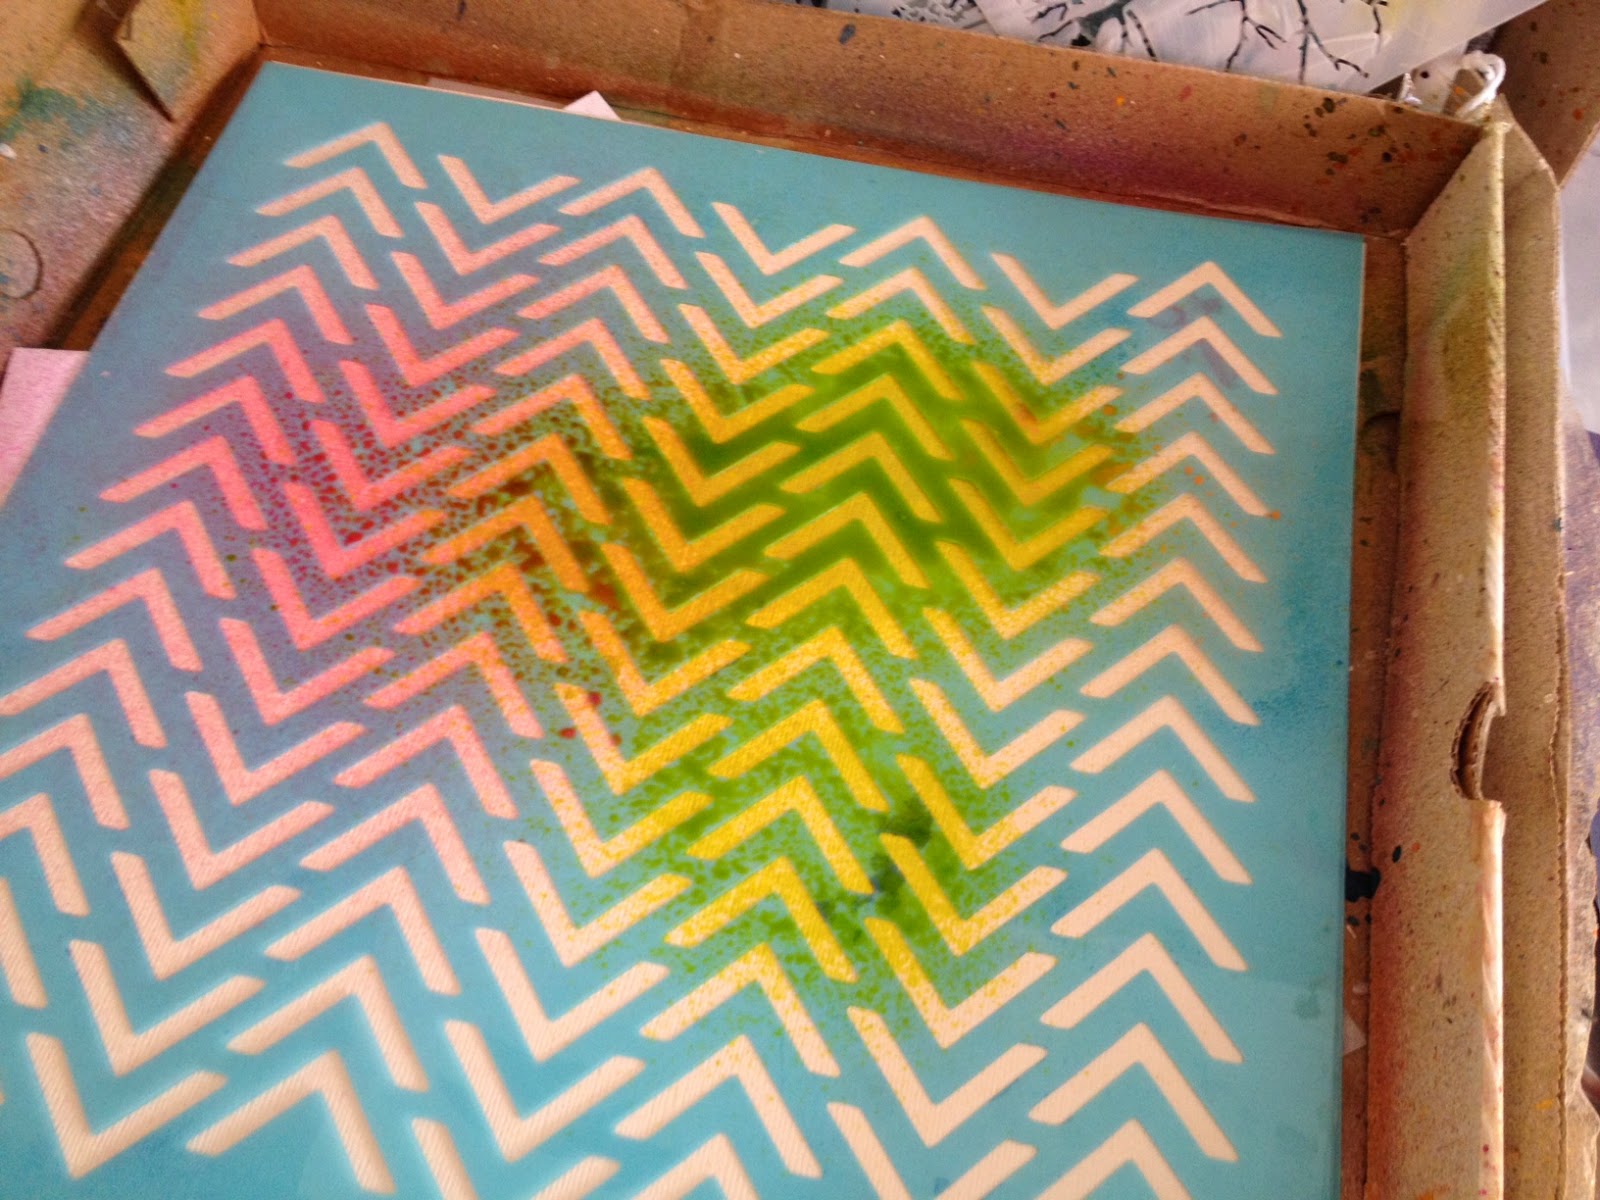
I have made myself a 'Spray Booth' from 2 pizza boxes joined together..hey, I love it....keeps the white ties of my laundry clean...I do all my 'wet' work there cos the sink is so handy to wash up the stencils & brushes & hands..


I even store some of my fave stencils/templates in the sides.

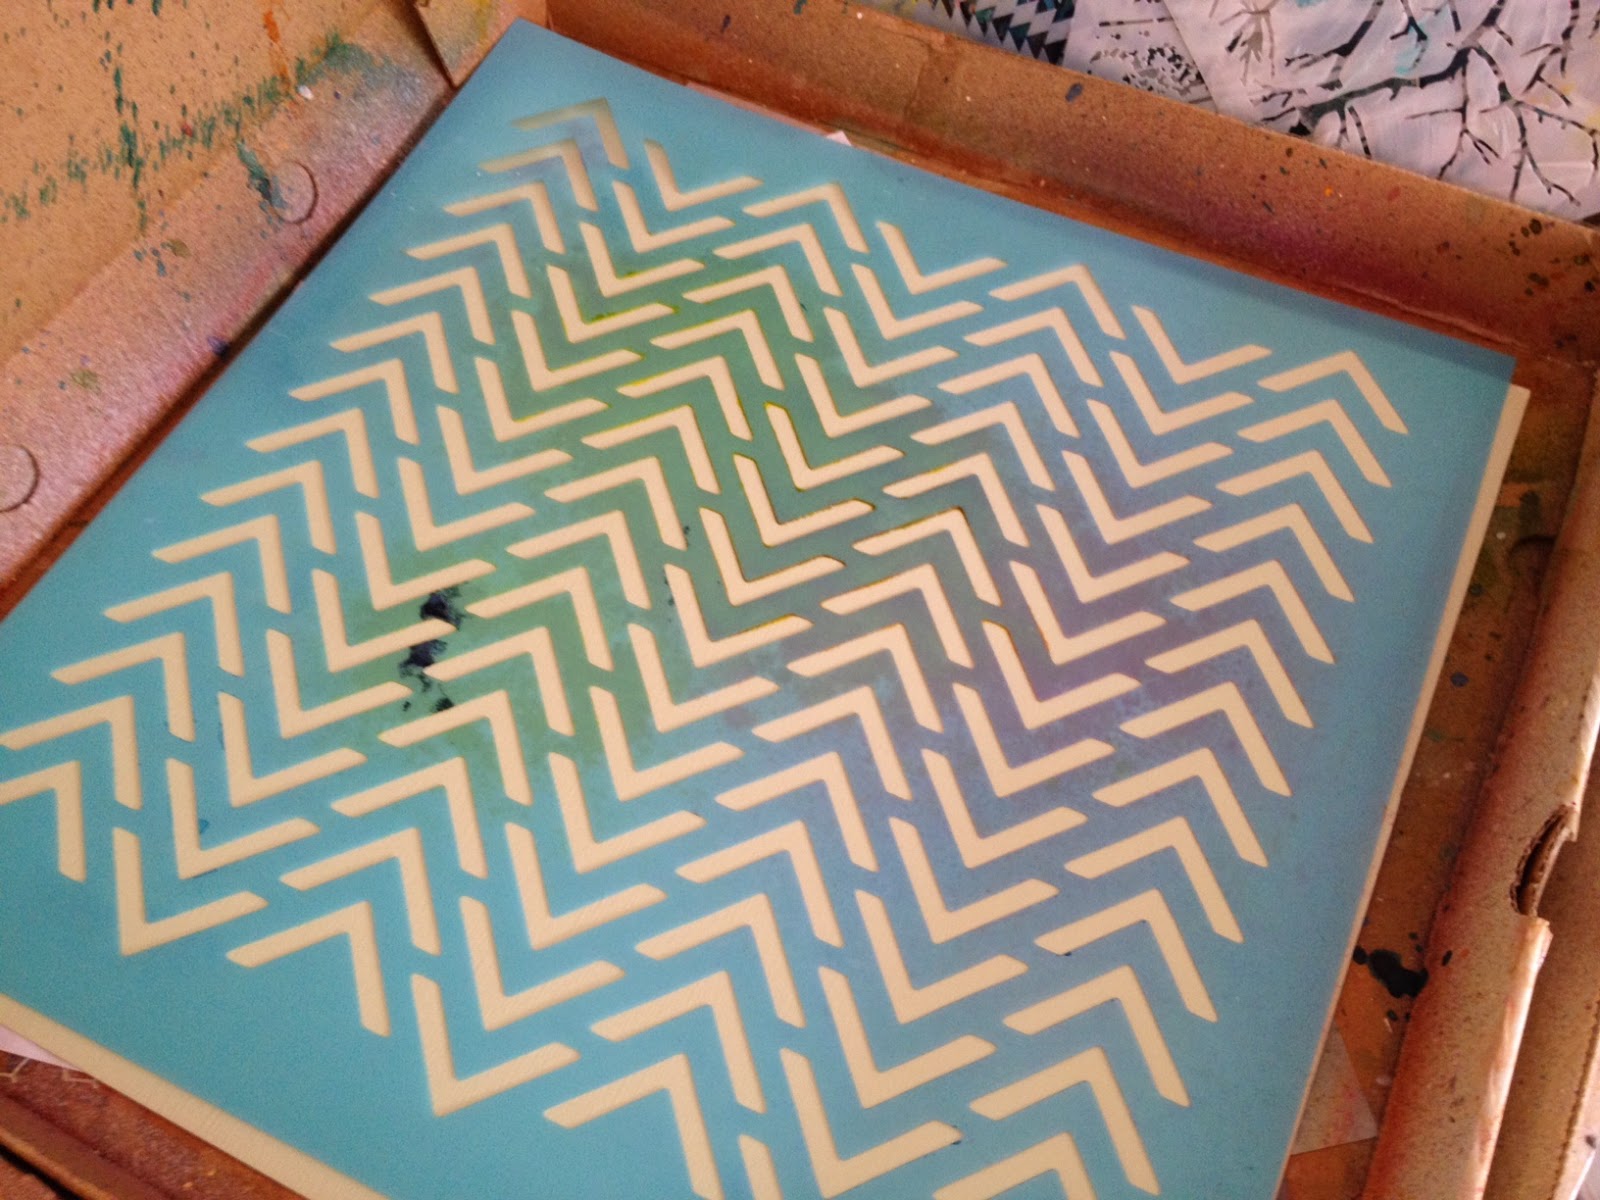
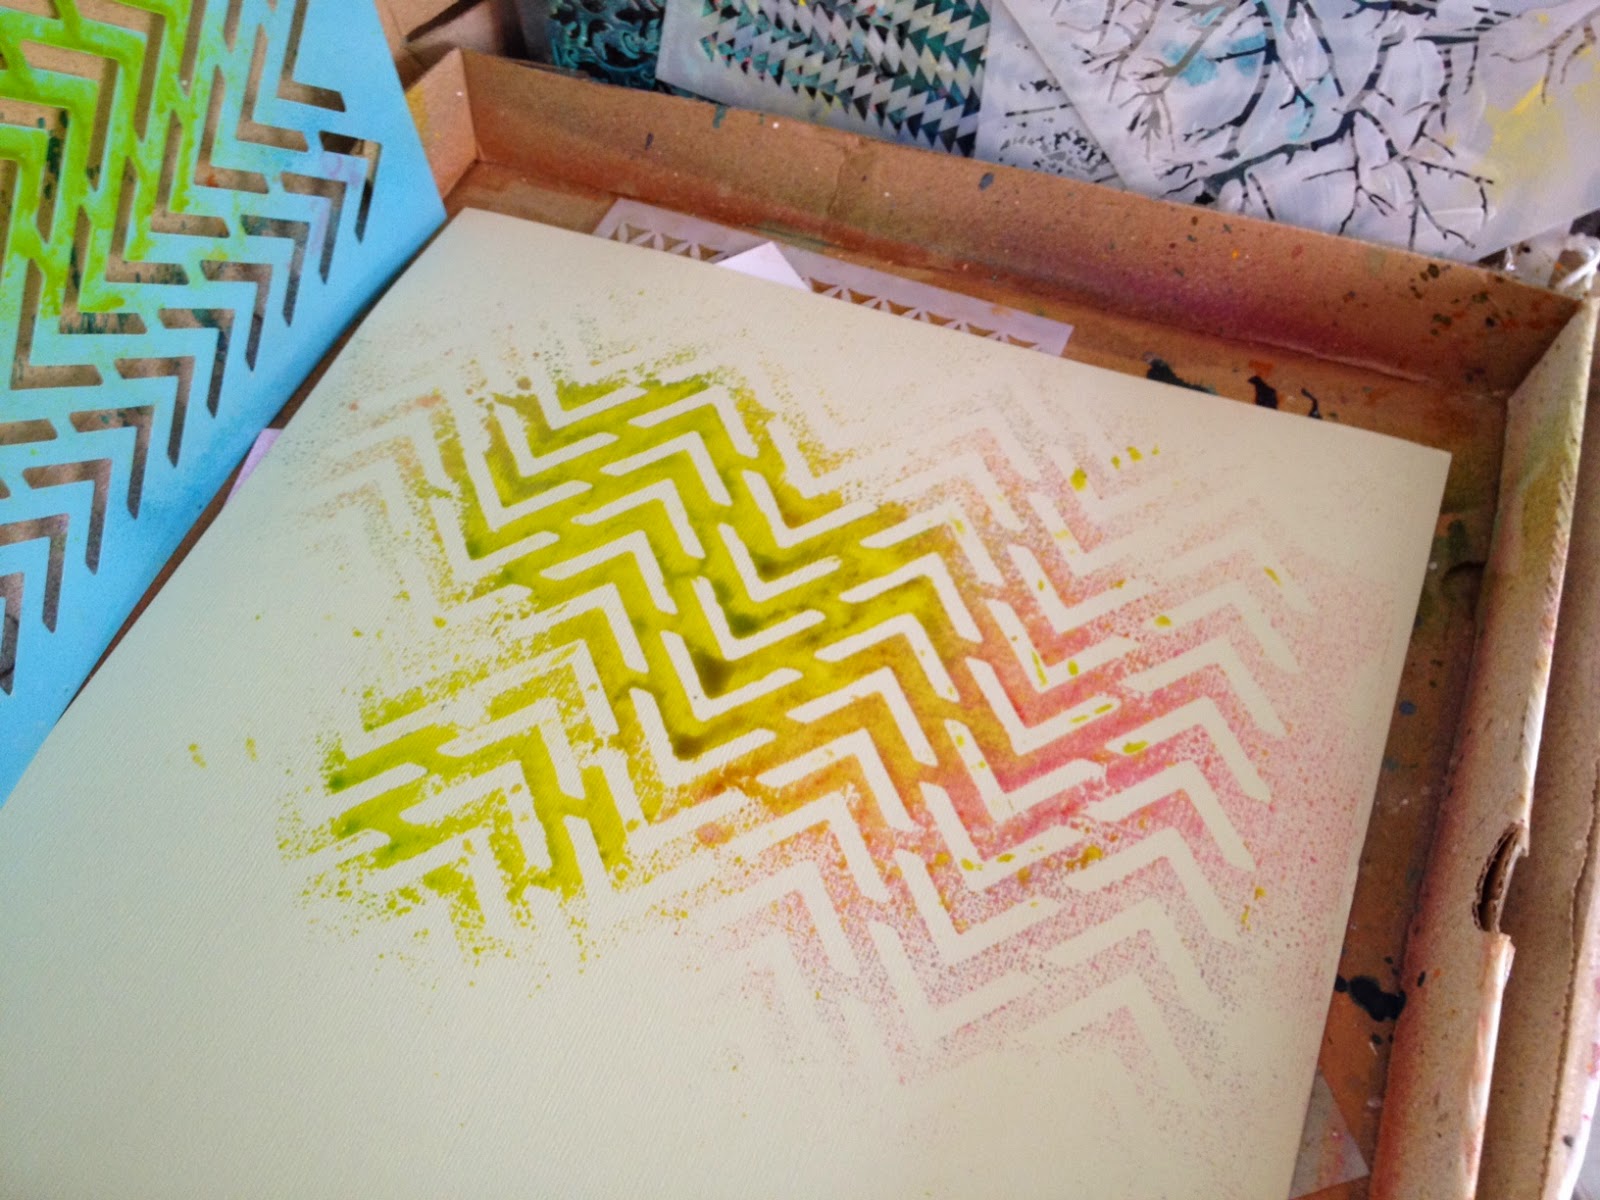
When I spray card or paper, I put another 12 x 12 piece underneath...to catch the colour, or excess texture paste/gesso. This is what I call my paper scoop.


Even if I am using a small template the paper scoop under gets a lovely spray too. 


But I also get the template that I have sprayed, quickly turn it over & press it down onto my paper scoop....and leave to dry..or you can just get your CS or paper & press over the top.


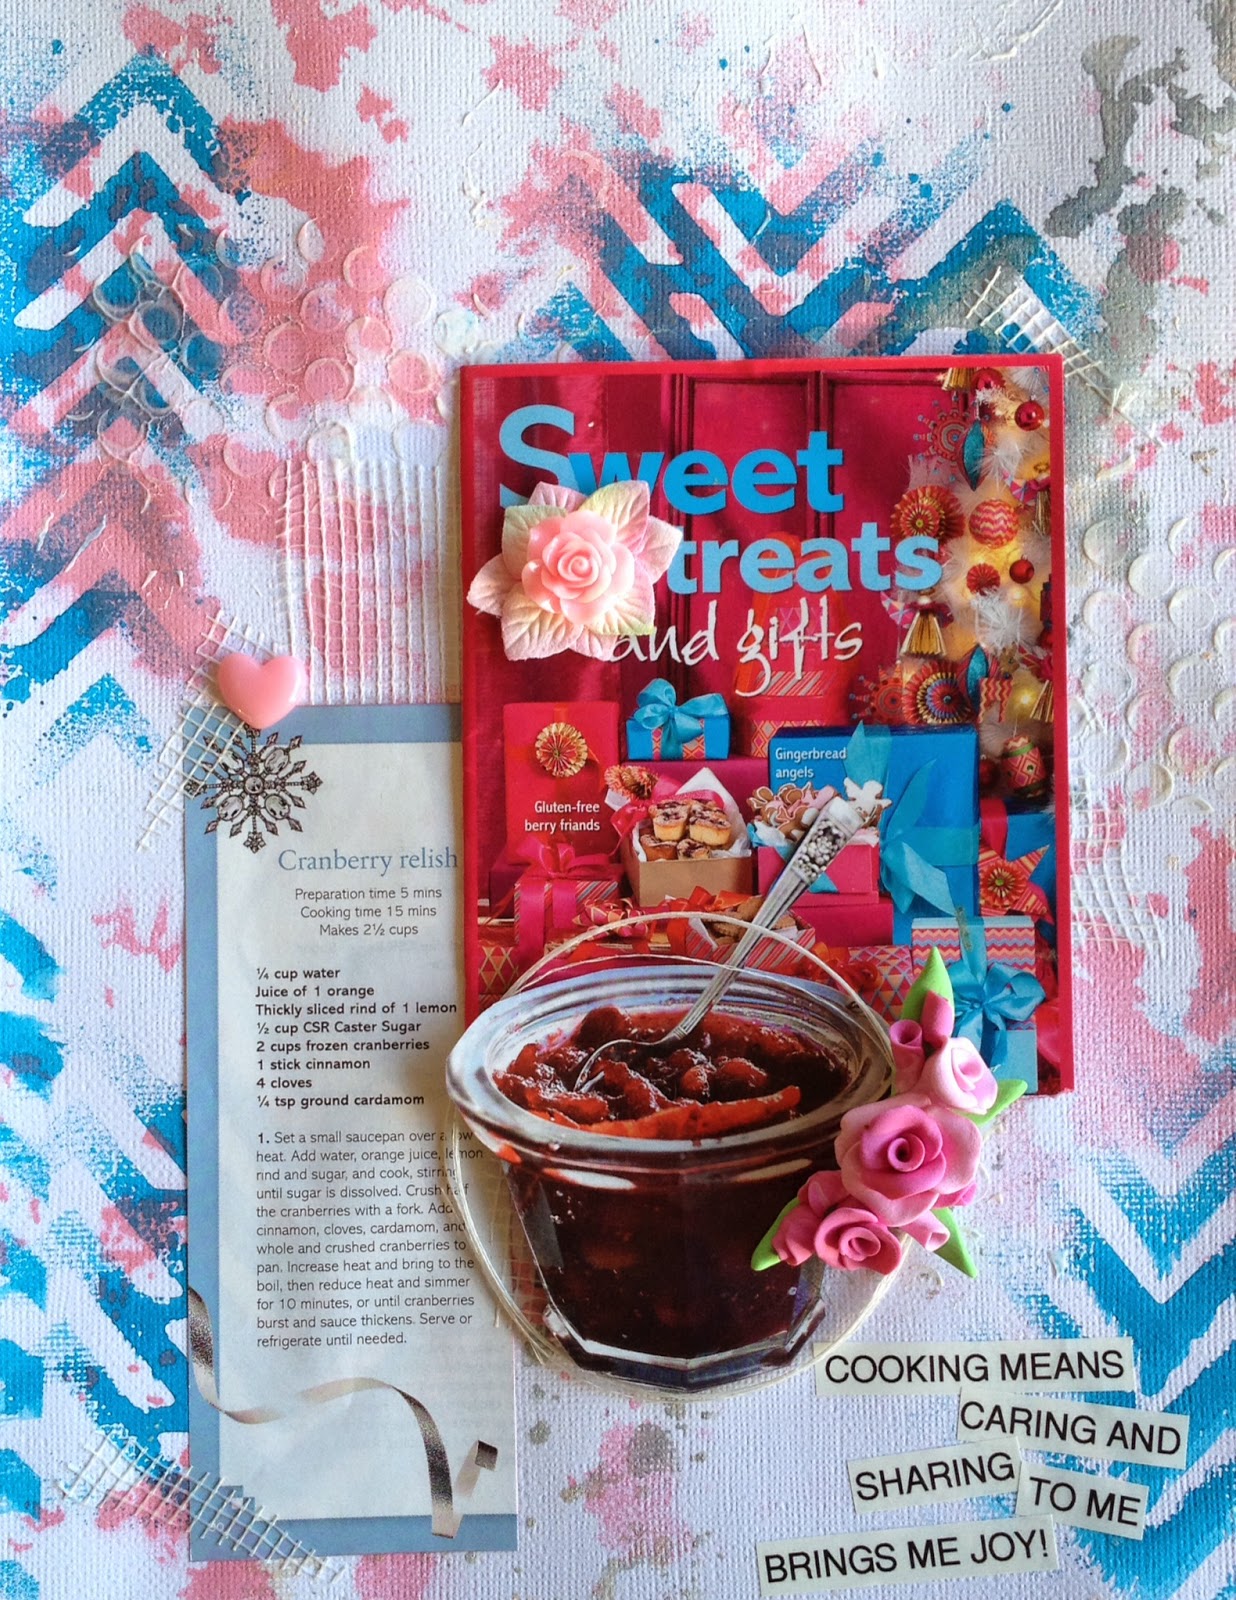
 Here is a LO I completed yesterday that used the same idea...the paper scoop in my spray booth...


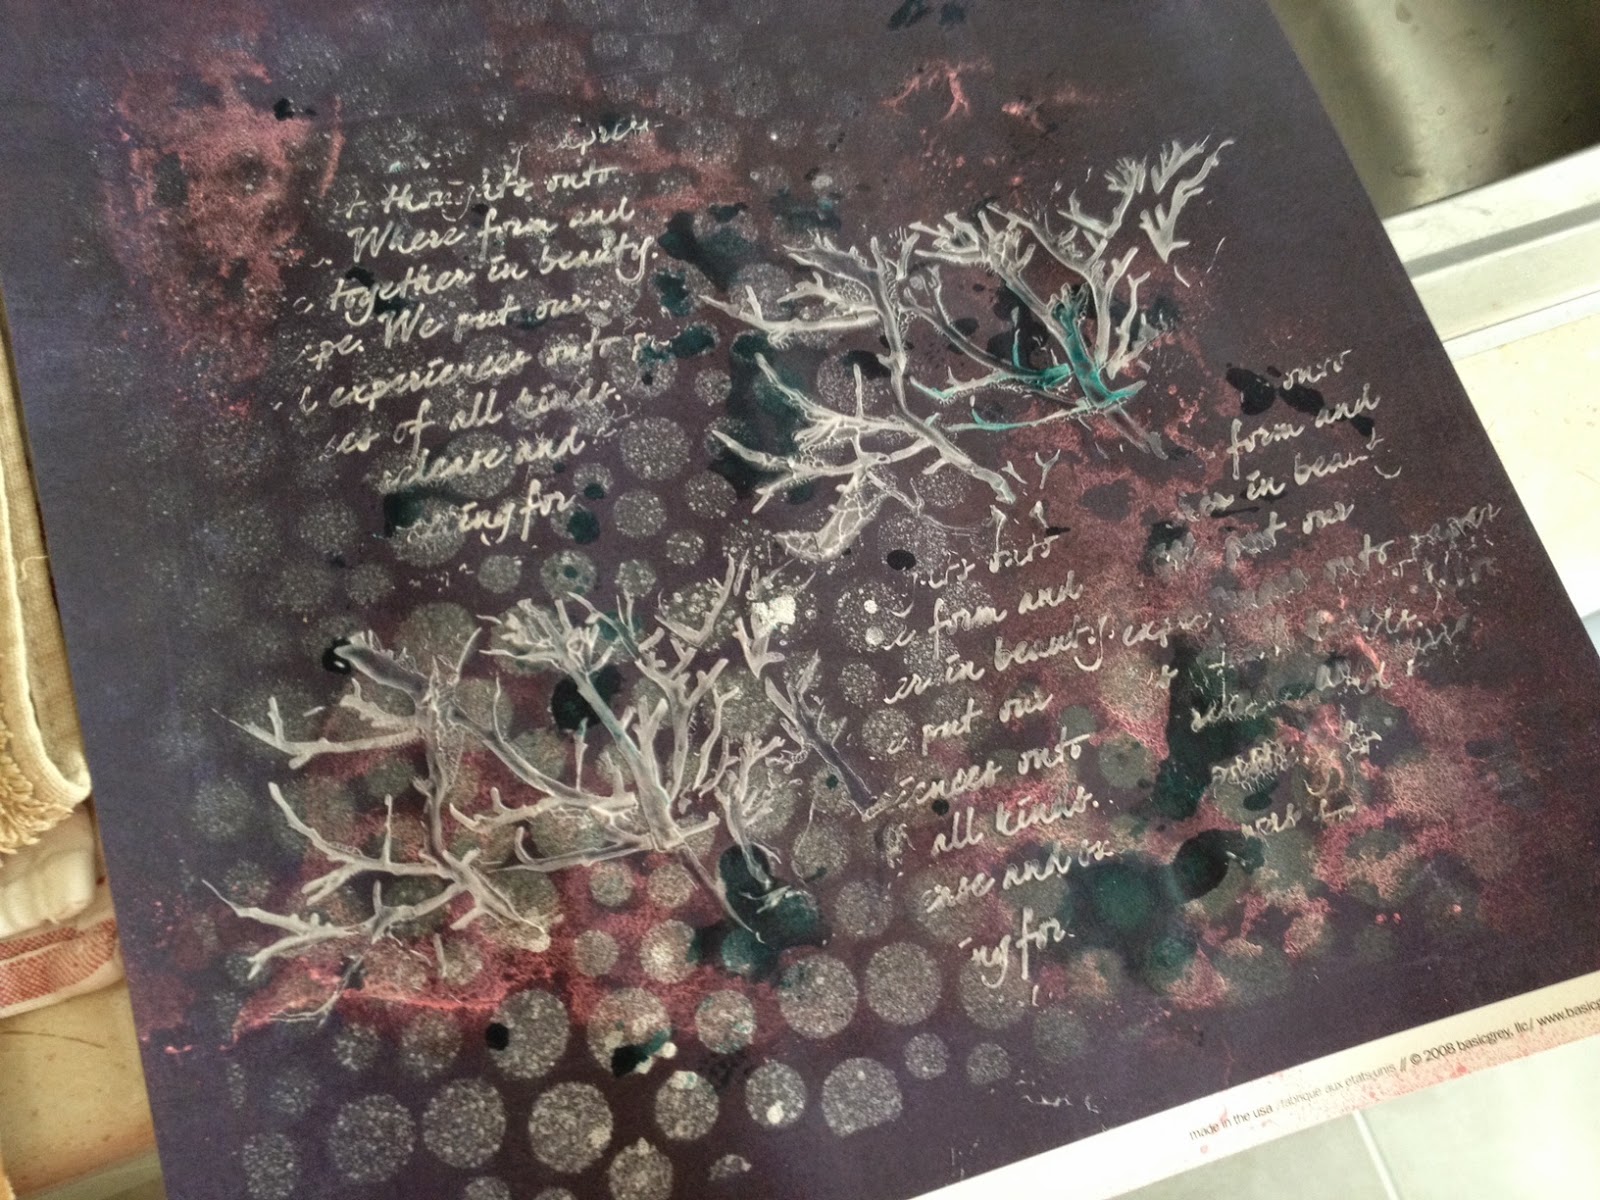
Now in the following photo, I have used this purple paper as my paper scoop over a number of days, then added texture paste with 2 stencils...did I say I love texture paste...well I do - big time!


 And after working on my LO today...this is how it turned out...


Rather than just washing away your paint or mist or paste...just add it to another page, or your art journal for later use.

Cheers, Debi

Tuesday, July 22, 2014

Inspiration Post | "We are a Really Small Gang"

It's Louise here again for an Inspiration Post and today I am sharing a short process video for this card.


I used Stampin' Up cardstock and ink in Bermuda Bay, Memento Tuxedo Black ink, some scrap grey cardstock, a Heidi Swapp stencil and enamel dots from MME.

You can watch the video on YouTube or below- enjoy!


Thanks for watching :-)

Friday, July 11, 2014

How to make fiber with satin ribbon

Hi there, it's Valerie !

My trick this time will be to show you how to use a simple satin ribbon to make fiber you can use on layout. Here are some exemples of the result :

So if you want to know how to create these fibers, just watch this small video :


Have fun with this technique and see you soon !

Saturday, May 24, 2014

Inspiration Post: Acetate and Alcohol inks

Hello again and today I am back with another inspiration post.  I find these the most difficult post of all.  Anyhow I hope you like what I came up with.

What you will need
Acetate template
Cardstock template
Acrylic paint and paintbrush
Alcohol inks  
Blending tool
Stamps of your choice


For this project I used Lots of Labels

  Apply a few drops of Alcohol inks to the stamp and then blend them together with your blending tool.

Now stamp onto the front of your acetate template. Let the ink dry.  (I used an old acetate gift box.  I never throw them away as you never know when you will need it.) For the purpose of this tutorial and photographing I stamped some  ink to get a clearer picture.

Once the ink has dried, turn your template over and paint the back with your paint.  You can go lighter or darker, it is really up to you.

While the paint is still wet, turn your template back to front side up and stick down onto your card stock.  The wet paint replaces having to use glue.
The end result on a card.

Thanks for stopping by.  Hope you all have a wonderful day
~ Michelle~
Find me on FACEBOOK!!

Sunday, May 11, 2014

Inspiration post - DIY Enamel dots

Hi everyone, it's Valerie !


I've seen few times this trick on the web, and I did try it for you : DIY enamel dots.
You will need fusible beads, an oven and a cookie sheet with parchemin paper.


Place the fusible beads on the parchemin paper, and put it in the oven at maximum heat for few minutes.


Watch closely the beads, when they look like half pearls, they're ready :


Let them cool completely and you will have new enamel dots !


You can make bigger dots by melting several beads together.

Have fun !
Valerie